
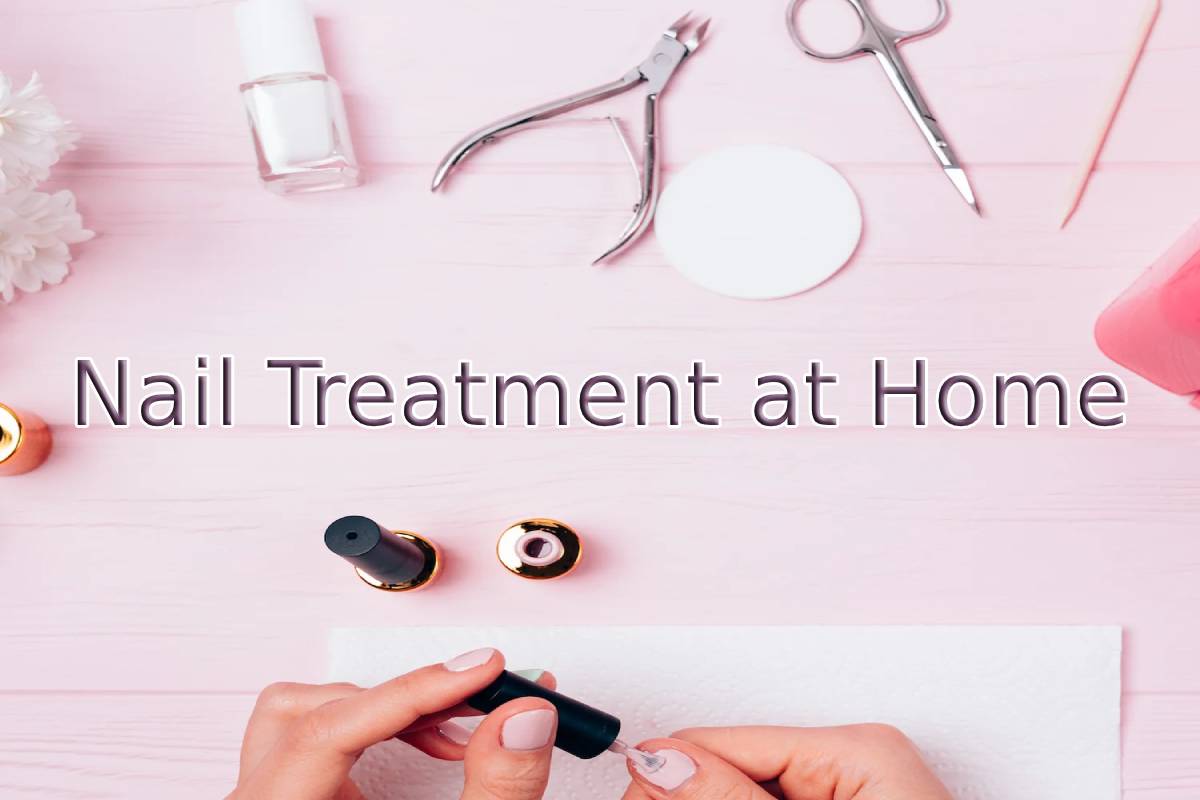
Nail Treatment at Home is the activity carried out to care for and to beautify the fingernails being at your comfort space.
Similarly, the person who performs this duty is called work and the trade in question.
We can say that nail treatment at Home consists of cosmetic treatment of the nails, which we file, cut, and paint.
Table of Contents
What products does the Nail Treatment at Home contain?
The Nail Treatment Lot comprises of the following products specially created for the comprehensive care of your nails:
1. Polishing pad
With four faces. Each side has a function:
- Side 1: lime
- Side 2: smooth and define
- Side 3: polish
- Side 4: shine
2. Nail file
- File your nails, specifying the desired shape.
3. Biphasic oil
- Moisturizing oil indicated for nails and cuticles. It contains almond and jojoba oil enriched with Vitamin E.
4. BB nails
- Nail lacquer that contains a complex with glycerin and aloe vera extract.
- It helps to maintain the hydration of the nail and keep it protected with a natural appearance.
5. Orange stick
- Stick with which you can remove excess lacquer.
6. Makeup bag
- Four steps to perfect nails.
- Next, we describe the step by step for perfect nails with our Lot.
1st step: Polishing block
- File
- Smooth and define
- Polish
2nd step: Nail file
- File until you get the desired shape on your nails.
- A tip: always file in the same direction to avoid creating microcracks that chip and weaken the nail.
Step 3: Raspberry aroma biphasic oil
- Shake and apply on nails and cuticles.
- Massage and affect the cuticles.
- Clean and dry your hands with soap and water before applying nail polish, thus achieving greater adherence.
Step 4: BB nails lacquer
- Apply 1-2 coats. Help keep nails hydrated and protected with a natural look.
- Use the orange stick to remove the excess product.
Suggestion: Complete the treatment by applying the oil to the cuticle again.
Methods of Nail treatment at Home
1. The olive oil bowl trick
- The night before you get your manicure, try doing this hyper-hydrating shock treatment that Alma mater of Mi Calle de Nueva York recommends.
- Put olive oil in a small bowl, previously heating it for a few seconds (to make it warm ).
- Then put the nails in for about 15 minutes, then drying without using water.
- You will be able to hydrate nails and cuticles and prepare the perfect canvas to do your manicure.
- If you are going to apply a hydrating cuticle treatment, you should do this after.
- One of the fundamental steps of the manicure before polishing the nails is to treat the cuticles.
- It is accepting the fact that it is better to push the cuticles than to cut them.
- Then it is time to hydrate with a specific treatment for cuticles.
- If you are going to do your nails later, it is necessary that, once you have applied the oil or cuticle cream.
- You can spray alcohol on the nail so that the application of the polish is easy and effective.
- We can remove the enamel without rubbing.
- Choose an acetone-free polish remover to avoid the weakening of the keratin layers of the nail.
- It is essential that when removing the nail polish, you do not rub the nail.
- You must make dragging movements, from the birth of the nail and down.
- Do it without rubbing to weaken the nail and achieve a more effective removal of the enamel.
- You can also put this trick into practice: soak a cotton ball with nail polish remover, place it on the nail.
- Please leave it in contact for a few seconds and then massage to remove.
2. The importance of choosing a good lime
- It is essential to invest in this accessory and choose one made of cardboard or glass.
- The CND team recommends choosing files with a weight of 180 to prevent the nail from breaking or splitting into multiple layers.
3. File this way
- The movements you make when filing your nails are also defining not to break or flake.
- From MIA Cosmetics Paris, they advise to file the nails from the sides continuously and towards the centre, but with gentle movements.
- To give them a slightly rounded shape, Juliana Pereira recommends not only doing it in a straight line.
- Put the file somewhat under the nail and on the sides to achieve that rounded shape.
4. Buff the surface (but with a professional polishing pad)
- In the market, there are four-sided files with a specific one to polish the surface of the nail, but Victoria.
Fernández Garrido, a manicurist at the Fashion Avenue centre. - They recommend using a traditional polishing block, and you can buy in nail shops.
- Hairdressing products. Use it to work the nail’s surface and remove previous polishes’ remains (because yes, red is always very difficult to remove).
5. Tea tree oil against yellow nails
- That your nails turn, yellow is usually something relatively normal, mainly if you use dark and highly pigmented enamels.
- However, and although you must consult a podiatrist in case, they could be fungi.
- As a general rule as a first step, the expert from My Street in New York advises using tea tree oil every day so that this problem improves.
- Always, always dry your cuticles.
- It is necessary that whenever you wash your hands, you remember to dry your nails thoroughly.
- As explained by MIA Cosmetics Paris, “this simple gesture can slow down the deterioration of the cuticle and the risk of infections.”
6. Base, two layers of enamel and topcoat
- It may be obvious, but it is fair and necessary to remember this.
- Before applying any colour, it is necessary to use a base that protects the nail (those containing coconut are beneficial), smooth it and facilitates the polish application.
- Only then will you ensure that the polish does not damage your nail.
- Then it is necessary to apply two thin coats of colour and finish with a topcoat that protects and seals the colour.
- If you want, then you can also put in a final step: a drying product.
Did you think the nail polish had dried, but it wasn’t?
- You may not have allowed the colour to dry well between coats.
- To prevent this from happening, you must drain the brush before applying the enamel.
- Then, respect each layer’s drying time by painting both coats before starting with the second round of colour.
- And remember that if the polish is not in good condition, you will not be able to apply thin layers.
- Therefore, you will have a better chance of ending up with damaged colour.