
Table of Contents
Nourishing Face Cream: Radiant Look
- Nourishing Face cream absorbs into skin, hydrates skin, and helps prevent moisture loss, keeps it silky soft, conditioned, and beautifully supple.
- That’s it it’s decided, you are going to make your homemade face cream!
- Thus, making your homemade moisturizer will allow you to select only natural ingredients to no longer coat your skin with chemicals or harmful substances.
- Easy to make, the formula only requires four ingredients to make its natural and organic face cream.
- You can then modify it as you desire, according to your skin’s needs and the season.
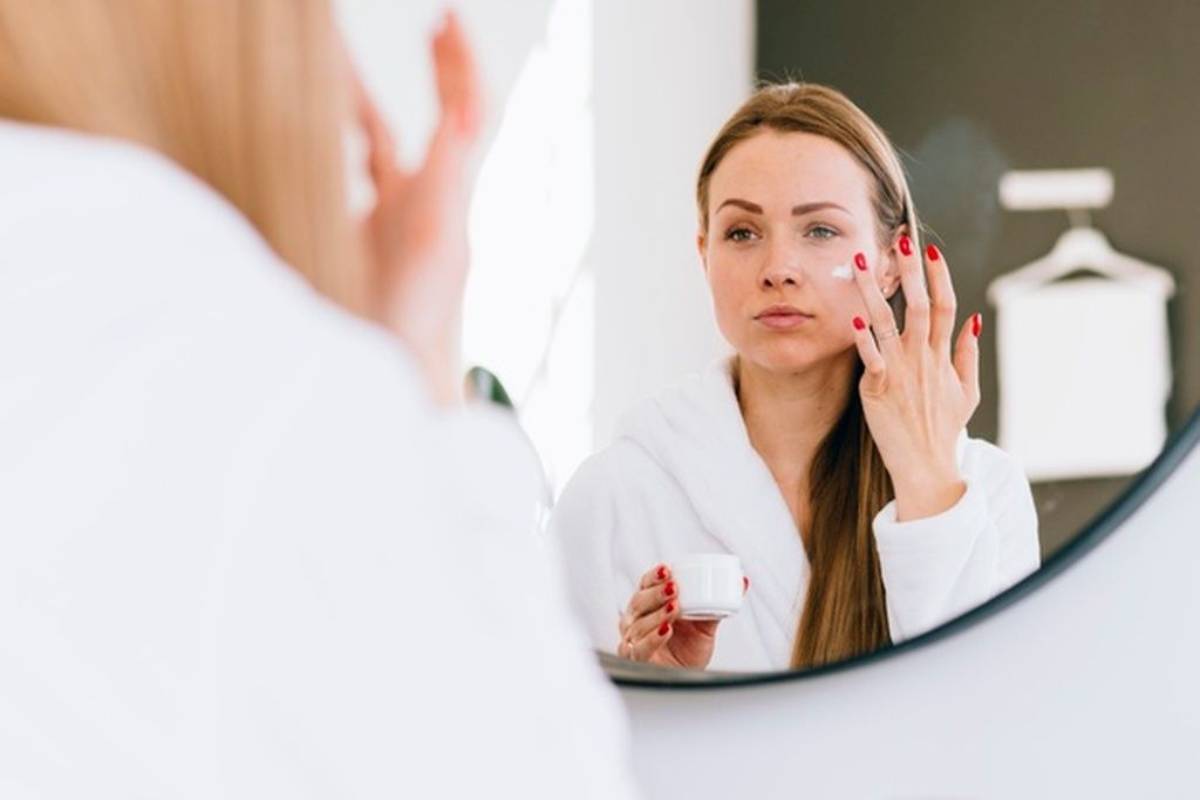
How to apply hyaluronic acid cream?
- Apply a dab of the hyaluronic acid cream morning and evening to the cleansed and dried face after your usual serum.
- Massage gently in circular motions until the moisturizer has fully penetrated the skin.
- Before first use, remove the cover, turn it over, then screw it upside down to pierce the tamper-evident veil of the hyaluronic acid cream.
- We enrich it with nourishing shea butter and squalane and hydrating hyaluronic acid.
- It helps to make the skin extra supple and reduce the appearance of fine lines from dehydration.
The 4 Main Active Ingredients of Moisturizing Cream
1. Hyaluronic acid
- Resulting from the fermentation of wheat, we know the molecule for its highly hydrating properties.
- Indeed, it can hold up to a thousand times its weight in water.
- The making of hyaluronic acid by the body decreases with age, leading to the first fine lines’ appearance on the skin’s surface.
- Therefore, the daily intake of hyaluronic acid makes it possible to compensate for this reduction.
- Also, it reduces the look of fine lines and makes the skin more supple and more toned.
2. Shea Butter
- Resulting from nuts’ pressing, this butter with soothing and nourishing properties protects the skin from skin dryness and external aggressions.
- Its high content of triglycerides gives it great restorative power.
3. Squalane
- Squalane has a structure very similar to sebum. It, therefore, has an excellent affinity with the skin.
- Non-greasy, it quickly penetrates the epidermis and softens its touch.
- This contribution of lipids fights skin dryness and makes it possible to repair the hydrolipidic film of the skin.
4. Plum oil
- Extracted by cold pressing from its kernel, plum oil is known for its softening and antioxidant properties.
- Also, its almond scent brings a delicate fragrance to the cream.
Homemade face cream according to your skin type
To make your custom homemade face cream:
- Making your moisturizer indeed allows you to control its composition by choosing only natural ingredients and keeping only the essentials.
- Above all, it will enable you to manufacture your day cream to measure to provide your skin with the assets it contains.
- Needs, depending on its nature and condition.
- It is the whole point of home cosmetics! Read on, and we’ll help you choose your ingredients.
Manufacturing equipment
To make your DIY face cream at home, you will need utensils:
- One precision scale to weigh the ingredients
- Two bowls for each phase of the preparation
- One double boiler to heat the ingredients
- One base of cold water to speed up the cooling of the cream
- One mini stainless steel whisk to emulsify the cream
- One measuring spoon 0.5ml (optional) for easier dosing of the emulsifier
- One jar of 50ml to contain your DIY face cream
The ingredients of the recipe for 50g
- 39g of hydrosol of your choice. Full of water, the hydrosol ensures optimal hydration of the skin.
- 8g of vegetable oil of your choice, rich in lipid, vegetable oil nourishes the epidermis in depth.
- 3g of Cucina emulsifier (i.e., ten measuring spoons of 0.5ml)
- Of natural origin, the emulsifier allows water and vegetable oil, and we mix it to form a creamy texture that is stable over time.
- Ten drops of Cosgard preservative.
- Indispensable, the preservative allows you to keep your homemade moisturizer for at least three months in your bathroom.
- To personalize your DIY face cream, you can add it at the end of the preparation:
- Five drops of essential oil adapted to your skin to meet a specific need.
- Add five drops of natural perfume (aromatic extract or fragrance) to perfume your cream.
Preparation Steps
Step 1:
- Weigh and transfer each recipe into two separate bowls.
- The hydrosol is in one bowl (aqueous phase), vegetable oil, and the emulsifier in another bowl (oily phase).
Step 2:
- Heat the two bowls in a bain-marie over low heat.
- When the emulsifying wax is completely melted, remove the two bowls from the water bath.
Step 3:
- Off the heat, gradually pour the bowl of water into the bowl of oil, stirring vigorously with the mini stainless steel whisk until the cream whitens (about 3 minutes).
Step 4:
- To speed up the cooling, place the bowl of cream in a cold water base.
- Do not stop stirring until the cream thickens and becomes smooth (about 3 minutes).
Step 5:
- Add the preservative and optionally the options of your homemade moisturizer.
- Then mix to homogenize the preparation.
Step 6:
- Transfer the homemade face cream to a 50ml jar.
- If you want to keep your homemade day cream in a bottle, use a syringe to transfer the cream.